Hello Friends!
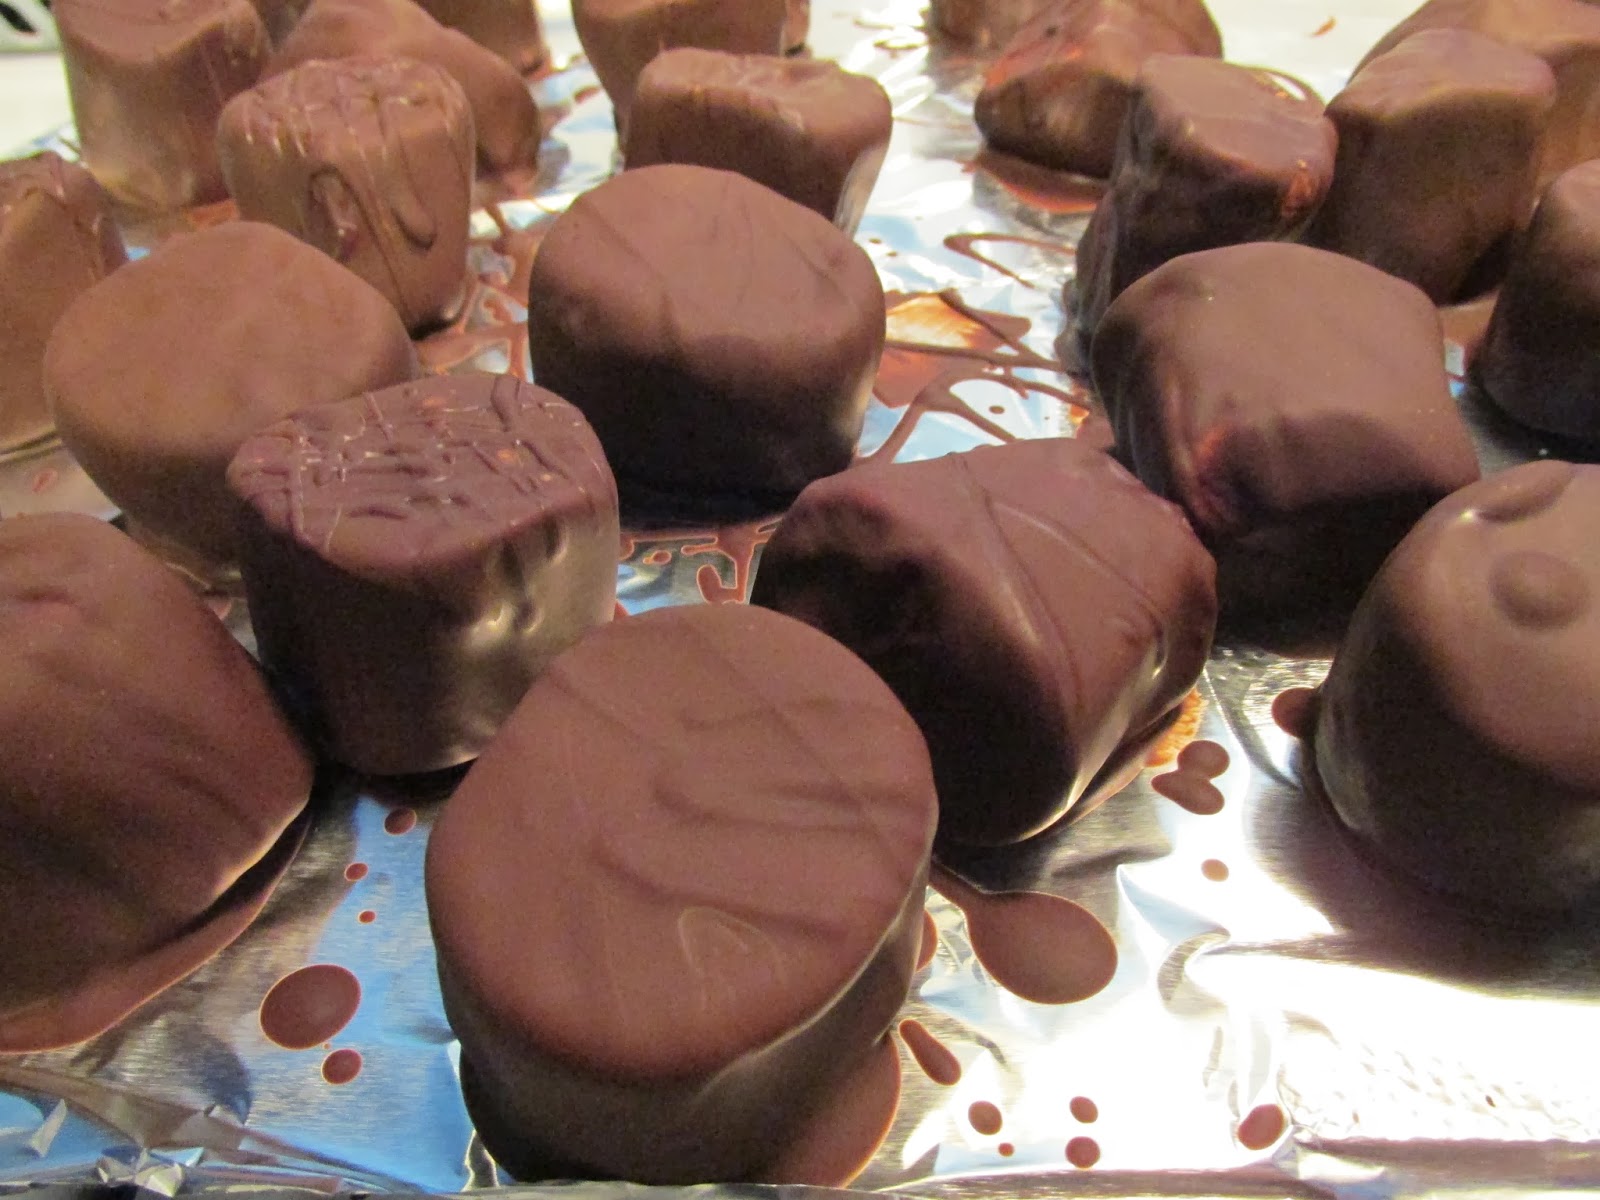
Today, I'd like to share a super easy DIY: What's better than bonbons? Well, that's easy chocolate covered bonbons!! I think it can be used for any occasion just by changing up a few things like colored ribbon or any decor you choose.
You will need:
1. Jar with lid/Mason Jar
2.Bonbons
3.Chocolate
4.Large & small pot (to melt the chocolate) details below
FYI: Both of mine are glass but you can use a regular pot and glass bowl over it
(whichever you use make sure it's heat resistant)
5.Foil or wax paper
6.Flat board,cookie sheet (to lay the bonbons to harden the chocolate)
7. Curling ribbon, decor
Directions:
1. In a large pot fill with water about 1/4 with water and place the smaller pot inside once the water has warmed up.
2.Place the chocolate inside the smaller pot,at this point you can turn off the fire, as the chocolate will melt with the bath water (don't put the chocolate in the water)
3.Stir until all of your chocolate has melted.
4.Dip your bonbons into the melted chocolate and coat completely using a fork to move them around and to take them out of the chocolate-
5. Hold the bonbon on the fork to let the excess chocolate run and place on your foiled/wax paper sheet (where it will be cooled)
6. Place in the refrigerator 15-20 min (even less) until the chocolate coating has become hard on the oputside
7. Place your chocolate covered bonbons in your jar
8.Decorate your jar (add curling ribbon, adornments, or even write a special message on the jar)
 |
| Choose your chocolate: white, dark,milk chocolate (here I have chocolate truffles/dark) |
 |
| Choose your bonbons: White,colored, small,large (these are large) Keep in mind the smaller they are the longer you will last coating them with the chocolate |
 |
| Warm up your water and put the chocolate inside the smaller pot (clear of the water). Stir until melted to soft consistency. Keep in mind that you don't want to boil the chocolate,only melt it. |
 |
| Drop your bonbons 1-2 at a time and coat them completely with your fork. Hold on the fork to drip excess chocolate. |
 |
| Place bonbons in the refrigerator 15-20 (or just until chocolate hardens) |
 |
| Once they have been cooled place your bonbons in your jar. |
 |
| Add your ribbon, decor of your choice before you place your lid on. |
 |
| And you are done!! I'm sure yours will turn out awesome!! Put your personal touch, whoever receives it will love it!! |


No comments:
Post a Comment